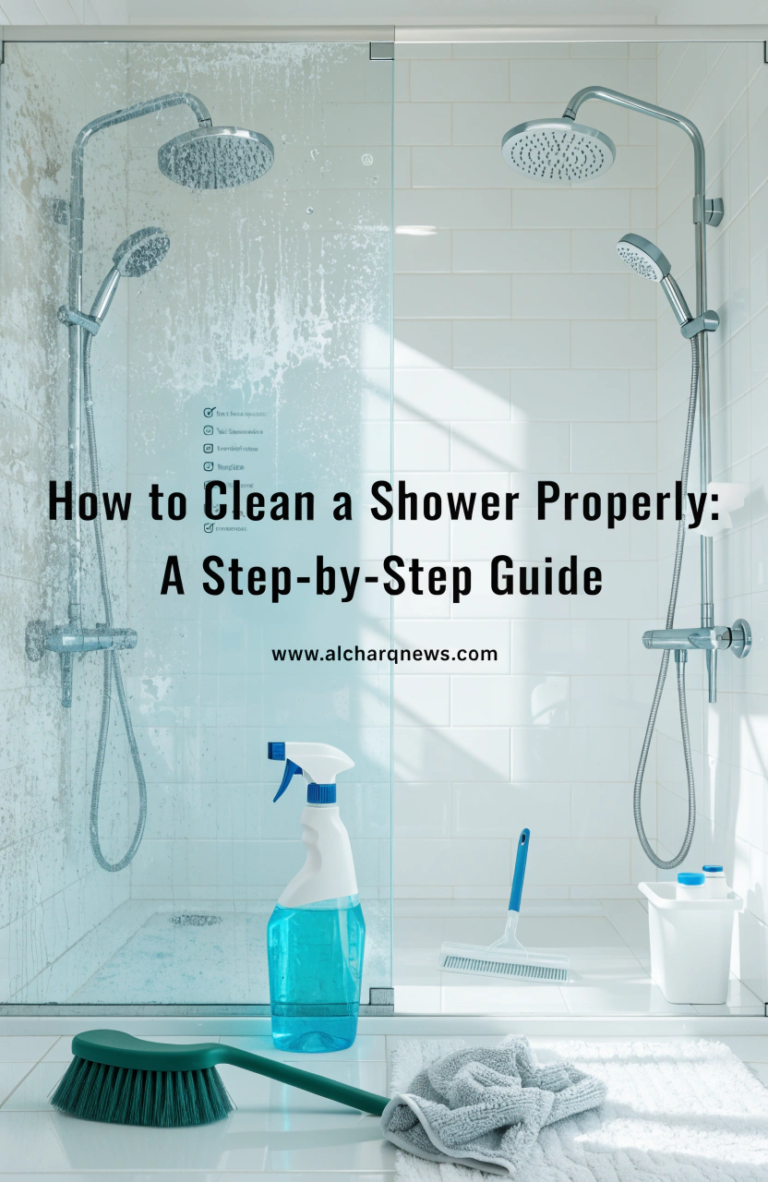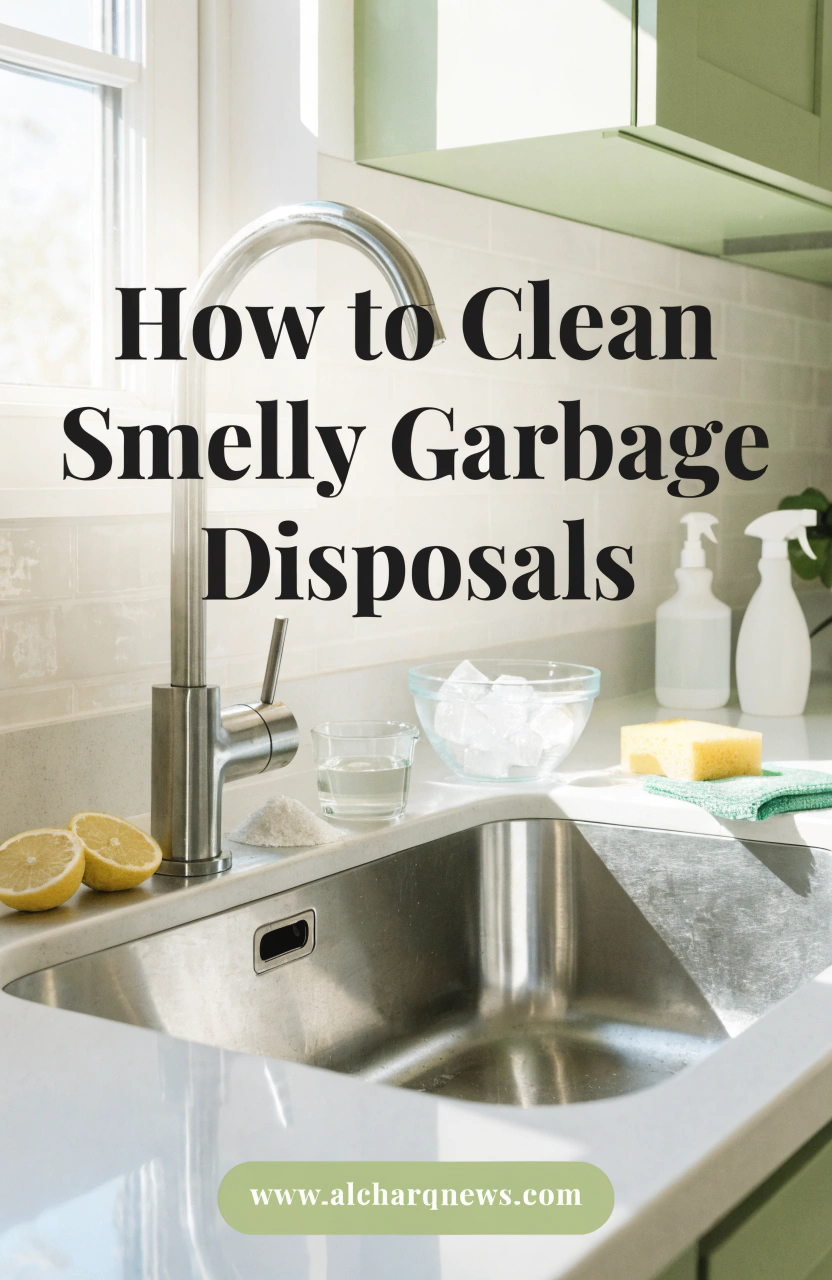
How to Clean Smelly Garbage Disposals: Your Complete Guide to a Fresh Kitchen
Is there anything worse than a lingering, foul odor wafting from your kitchen sink? Often, the culprit is your garbage disposal. Learning how to clean garbage disposals effectively isn’t just about masking smells; it’s about tackling the root cause of odors and maintaining a hygienic kitchen. A fresh-smelling kitchen contributes significantly to overall home comfort and cleanliness, and your garbage disposal plays a bigger role in that than you might think.
You might be surprised at how much grime and food residue can build up in those unseen nooks and crannies. But don’t worry! This comprehensive guide will walk you through simple, actionable steps to banish those funky smells and keep your disposal sparkling clean, contributing to your larger home cleaning and household maintenance efforts.
Why Your Garbage Disposal Smells (The Root Causes)
Before we dive into cleaning, understanding why your disposal gets stinky is the first step to preventing future odors. It’s not just random; there are specific reasons for that unpleasant smell.
Food Particle Buildup
Even though your disposal grinds food, tiny particles inevitably stick to the grinding components, the rubber splash guard, and the internal walls. Over time, these particles decompose, creating a distinct, foul odor.
Grease and Grime Accumulation
Grease, oils, and fatty residues are a disposal’s worst enemy. They don’t just rinse away; they cling to the interior surfaces, congeal, and trap other food particles, creating a sticky, smelly mess that’s difficult to dislodge with just water.
Bacteria and Mold Growth
The dark, damp environment inside your disposal is an ideal breeding ground for bacteria and mold. These microorganisms feed on the trapped food particles and grease, producing the volatile organic compounds responsible for those truly awful smells. This is a common issue in many parts of your home, and your disposal is no exception.
Essential Tools for a Sparkling Clean Garbage Disposal
You don’t need fancy gadgets to get your disposal clean. Most of what you need you probably already have in your pantry or under your sink. Gather these simple items:
- Ice cubes (plenty of them!)
- Coarse salt (kosher or rock salt works best)
- Baking soda
- White vinegar
- Citrus peels (lemon, lime, orange, grapefruit)
- Dish soap
- Hot water
- Long-handled scrub brush (optional, but helpful for the splash guard)
Step-by-Step Methods to Clean Smelly Garbage Disposals
Now, let’s get to the good stuff! Here are several effective methods you can use to clean garbage disposals and eradicate those nasty odors. You can use these individually or combine them for a super-powered clean.
The Ice and Salt Scour
This method uses abrasive action to dislodge stubborn food particles and grime. It’s surprisingly effective!
- Gather Your Supplies: Fill your disposal with 2-3 cups of ice cubes. Add about half a cup of coarse salt on top of the ice.
- Run the Disposal: Turn on cold water to a slow stream. With the water running, turn on your garbage disposal.
- Listen and Grind: Let the disposal run until all the ice and salt have been ground up. The ice helps to harden grease and food, making it easier for the salt to scrub the grinding blades and internal walls. You’ll hear the grinding sound change as the ice disappears.
- Flush: Turn off the disposal, but let the cold water run for another 30 seconds to flush away any remaining debris.
Baking Soda and Vinegar Fizz
This dynamic duo creates a natural chemical reaction that helps break down grime and deodorize.
- Prep the Disposal: Make sure your disposal is empty.
- Add Baking Soda: Pour half a cup of baking soda down the drain opening. Let it sit for about 10-15 minutes.
- Introduce Vinegar: Slowly pour one cup of white vinegar down the drain. You’ll hear a satisfying fizzing sound as the baking soda and vinegar react.
- Let it Sit: Allow the mixture to work its magic for another 15-30 minutes. This gives it time to break down grease and neutralize odors.
- Flush: After the waiting period, turn on the hot water and flush the disposal for about 30 seconds to a minute until the fizzing stops and the water runs clear.
Citrus Peel Freshener
Not only do citrus peels smell fantastic, but their natural oils and slight abrasiveness help clean and deodorize.
- Collect Peels: Save the peels from oranges, lemons, limes, or grapefruits. You’ll need about a cup’s worth.
- Run with Water: Turn on cold water to a slow stream.
- Grind Peels: Drop the citrus peels into the disposal a few at a time.
- Enjoy the Aroma: Let the disposal run until all the peels are ground up. The natural oils will release a fresh, clean scent throughout your kitchen.
- Flush: Continue running cold water for a few more seconds to ensure everything is flushed away.
Dish Soap and Hot Water Flush
This simple method is great for everyday maintenance and tackling minor grease buildup.
- Fill the Sink: Plug your sink drain and fill the sink with about 4-6 inches of very hot water.
- Add Soap: Squirt a generous amount of liquid dish soap into the hot water.
- Unplug and Grind: Unplug the sink and immediately turn on your garbage disposal. The rush of hot, soapy water will help flush out grease and grime.
- Rinse: Let the disposal run until the sink is empty, then continue running hot water for another 15-30 seconds.
Deep Cleaning with a Brush (for the Splash Guard)
Don’t forget the rubber splash guard! It’s a magnet for slime and food particles.
- Safety First: Make sure the disposal is turned OFF and unplugged for safety. Never put your hand inside the disposal while it’s connected to power.
- Lift the Guard: Carefully lift each flap of the rubber splash guard (the black rubber ring at the drain opening).
- Scrub: Using a long-handled scrub brush (an old toothbrush works too), scrub the underside of the splash guard flaps and the visible areas just inside the disposal opening. You’ll likely find a surprising amount of gunk.
- Rinse: Once scrubbed, run hot water and the disposal briefly to rinse away any dislodged debris.
Preventative Maintenance: Keeping Odors Away
The best way to deal with a smelly disposal is to prevent it from smelling in the first place! Incorporating these habits into your daily routine will save you a lot of trouble.
Regular Flushing Habits
- Always use cold water: When running your disposal, always use a strong stream of cold water. Cold water helps solidify grease and food particles, making them easier to grind and preventing them from sticking to the blades.
- Run it longer: Don’t just turn it on and off quickly. Let the disposal run for 10-15 seconds after the grinding sounds stop, with cold water still flowing, to ensure everything is completely flushed out.
What NOT to Put Down the Disposal
Being mindful of what goes down your drain is paramount for healthy plumbing and a fresh disposal. This is a key aspect of good household maintenance.
- Grease, Fats, and Oils: Never pour these down the drain, even if liquid. They solidify and cling to pipes and the disposal, leading to clogs and odors.
- Fibrous Foods: Celery, asparagus, corn husks, onion skins, and banana peels can tangle around the blades and cause jams.
- Coffee Grounds: While they seem fine, coffee grounds accumulate and create sludge in your pipes.
- Bones and Pits: These are too hard for most disposals and can damage the motor or blades.
- Starchy Foods: Pasta, rice, and potato peels swell with water and can create thick blockages.
Incorporating into Your Cleaning Schedule
Making disposal cleaning a part of your regular cleaning schedules is key to effective household maintenance. A quick citrus grind once a week or a baking soda and vinegar flush once a month can make a huge difference. Set a reminder in your phone or add it to your weekly kitchen checklist.
Common Mistakes to Avoid When Cleaning Your Disposal
While trying to get rid of odors, you might inadvertently make things worse. Here are some common pitfalls to steer clear of:
- Using Harsh Chemicals (Bleach or Drain Cleaners): These can damage the disposal’s rubber components, pipes, and septic systems. They also don’t effectively remove the food particles that cause the smell.
- Ignoring the Splash Guard: As mentioned, this rubber ring is a prime spot for gunk. Don’t skip cleaning it!
- Not Using Enough Water: Water is essential for flushing debris. Always run plenty of cold water before, during, and after using the disposal.
- Only Masking Odors: Air fresheners or quick rinses might temporarily cover the smell, but they won’t address the underlying issue of trapped food and bacteria. You need to physically clean it.
Beyond the Disposal: Keeping Your Kitchen Fresh
A truly fresh kitchen goes beyond just the disposal. Integrating good habits for the entire sink area and surrounding space contributes to overall cleanliness and better home organization.
Sink and Drain Decluttering
Consider regular decluttering of your sink area. Remove sponges, brushes, and dish soap bottles that aren’t actively in use, and clean the sink basin daily. Food residue left in the sink can easily find its way into the garbage disposal, contributing to odors and bacterial growth.
Keep the area around your sink dry whenever possible. Moisture combined with food debris creates the perfect environment for mold and mildew to develop, affecting the freshness of your entire kitchen.
Frequently Asked Questions About Cleaning Garbage Disposals
How often should I clean my garbage disposal?
For most households, a light cleaning once a week and a deeper cleaning once a month is sufficient. If you cook frequently or notice odors developing sooner, you may want to clean it more often.
Can I use bleach to disinfect my garbage disposal?
It’s generally not recommended. Bleach can damage rubber seals and other internal components over time. Natural cleaners like baking soda, vinegar, and ice are effective at removing odors without risking damage.
Why does my garbage disposal still smell after cleaning?
If odors persist after a thorough cleaning, food debris may be trapped deeper in the drain pipe or the P-trap beneath your sink. The splash guard is another commonly overlooked area where residue accumulates. If you’ve cleaned these areas and the smell remains, it may be worth having the plumbing inspected.
Is it safe to sharpen garbage disposal blades with ice?
Yes. While garbage disposal components don’t have traditional sharpened blades, grinding ice helps remove built-up residue from the grinding ring and impellers, allowing the disposal to operate more efficiently.
Should I use hot or cold water?
Use cold water whenever the disposal is running. Cold water helps solidify grease so it can be chopped up and flushed away instead of coating the disposal and pipes. Hot water is best reserved for flushing the sink after cleaning, particularly when using dish soap.
Signs Your Garbage Disposal Needs More Than Cleaning
Sometimes unpleasant odors are a symptom of a larger problem. Watch for these warning signs:
- Persistent foul smells even after multiple cleanings
- Water draining slowly from the sink
- Frequent clogs or backups
- Loud grinding or rattling noises
- Leaks beneath the sink
- The disposal repeatedly trips the reset button
If you notice any of these issues, simple cleaning may not be enough. A damaged disposal, worn grinding components, or plumbing blockage may require professional repair or replacement.
Final Thoughts
Knowing how to clean garbage disposals is a simple skill that pays off with a fresher, cleaner kitchen and fewer plumbing problems. By combining regular maintenance with smart disposal habits, you can prevent unpleasant odors before they start.
Remember the essentials:
- Clean your disposal regularly using natural ingredients.
- Always run plenty of cold water during operation.
- Avoid putting grease, fibrous vegetables, coffee grounds, and hard objects down the disposal.
- Don’t forget to scrub the rubber splash guard, where odor-causing residue often hides.
With just a few minutes of maintenance each week, your garbage disposal can remain odor-free, perform more efficiently, and last for years to come. A little preventative care today can save you from stubborn smells, costly repairs, and unnecessary frustration in the future.