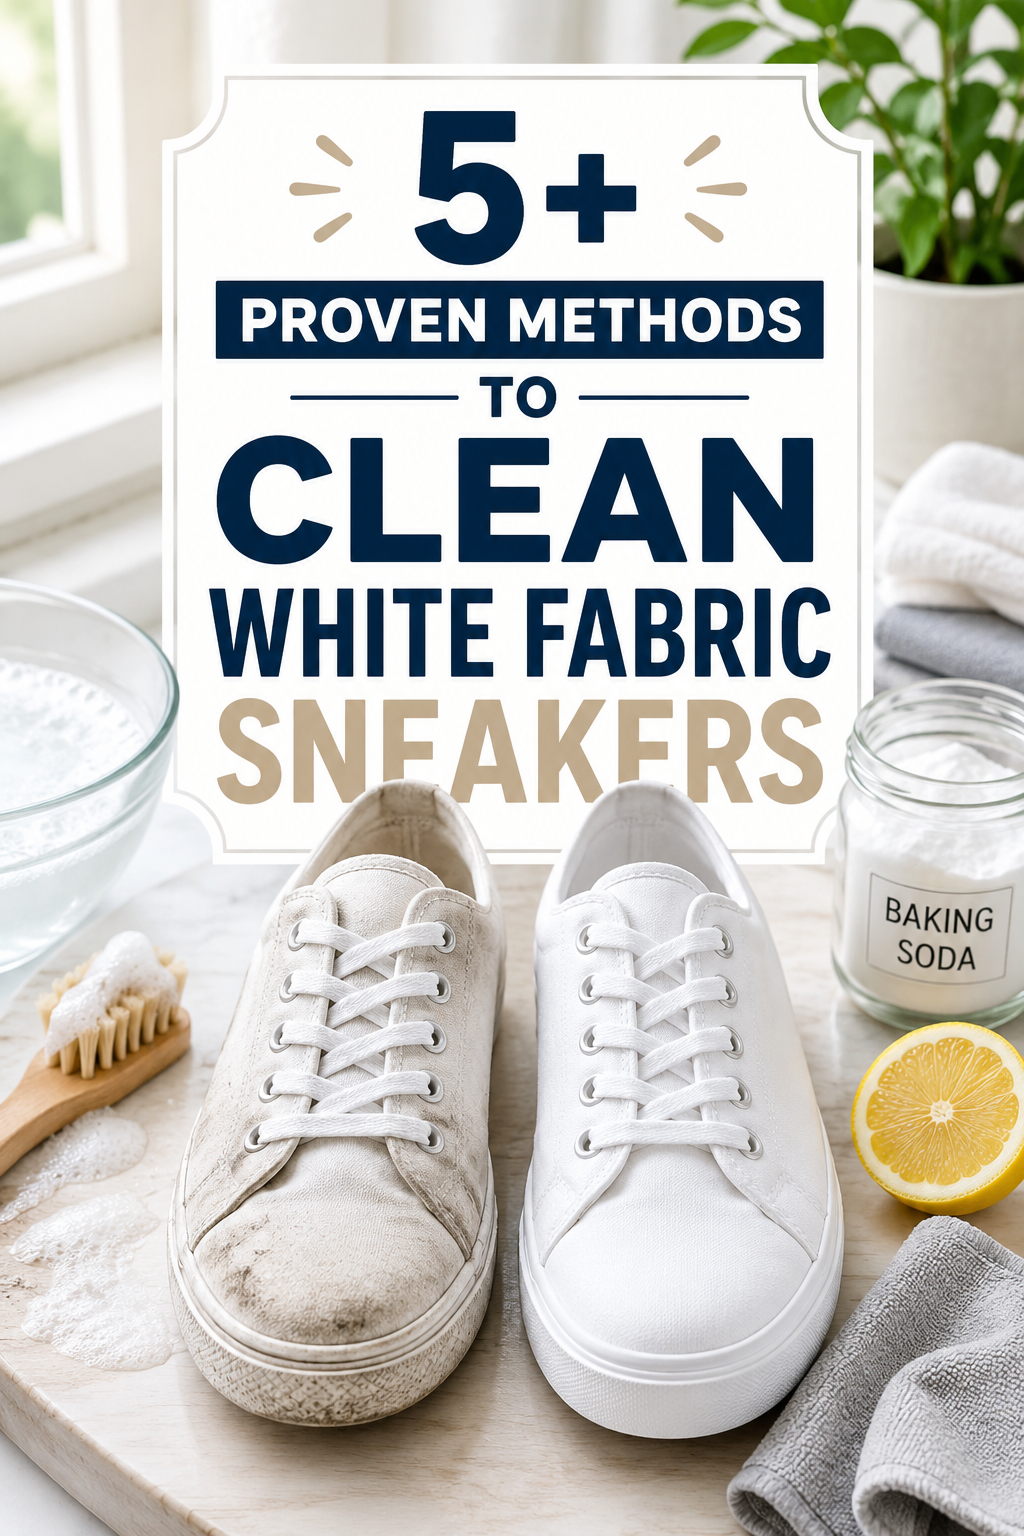
Reclaim the Gleam: 5+ Proven Methods to Clean White Sneakers Back to Brilliant
There’s nothing quite like the crisp, clean look of a brand new pair of white fabric sneakers. They elevate any outfit, adding a touch of effortless style. But then, life happens. A walk in the park, a sudden rain shower, a clumsy spill – and suddenly, those pristine white shoes are looking a little less than brilliant. Don’t despair! Before you consider banishing them to the back of your closet or, worse, the trash, know that restoring their dazzling white glory is entirely possible. With the right techniques and a bit of elbow grease, you can effectively clean white sneakers and bring them back to life. As an experienced home cleaning and organization specialist, I’m here to share the secrets to tackling even the toughest stains, ensuring your favorite footwear stays fresh and stylish.
Method 1: The Gentle Hand Wash – Soap and Warm Water
For everyday dirt and light scuffs, a simple hand wash is often all you need. This method is gentle and effective, making it a great first line of defense against grime. It’s also a good way to get into the habit of regular shoe maintenance, which is key to keeping your home organized and your belongings in top shape.
Gather Your Supplies
- Mild dish soap or laundry detergent
- Warm water
- Soft-bristled brush (an old toothbrush works wonders)
- Clean cloths or sponges
- Small bowl or basin
Step-by-Step Cleaning
- Prepare Your Workspace: Find a well-lit area, perhaps in your laundry room or utility sink area. Lay down an old towel or newspaper to protect your surfaces. Remove the laces and insoles from your sneakers. You can wash laces separately by hand with soap and water or toss them in a mesh laundry bag with your next load of whites.
- Initial Rinse: Use a dry brush or cloth to gently remove any loose dirt or debris from the shoes. This prevents mud from turning into a muddy paste once wet.
- Create a Soapy Solution: In your bowl, mix a small amount of mild soap with warm water until you have a sudsy solution.
- Scrub the Fabric: Dip your soft brush into the soapy water and gently scrub the fabric of your sneakers in small, circular motions. Pay extra attention to any visible stains. Be gentle, especially with delicate fabrics.
- Clean the Soles: Use the same soapy solution and a slightly stiffer brush (if available) to clean the rubber soles. Magic Erasers (discussed later) are fantastic for stubborn scuffs on soles.
- Wipe Clean: Dampen a clean cloth with plain warm water and wipe down the entire shoe to remove any soap residue. Repeat until all soap is gone.
- Air Dry: Stuff the sneakers with clean paper towels or old, clean cloths to help them maintain their shape and absorb moisture. Place them in a well-ventilated area away from direct sunlight or heat. Direct sun can sometimes yellow white fabrics.
Method 2: The Stain-Fighting Duo – Baking Soda and White Vinegar
For those more stubborn spots that a simple soap-and-water wash can’t conquer, turn to the natural cleaning powerhouses found in almost every household: baking soda and white vinegar. This combination creates a gentle abrasive paste that lifts dirt and neutralizes odors, making it perfect for an eco-friendly approach to home maintenance.
What You’ll Need
- 2 tablespoons baking soda
- 1 tablespoon white vinegar
- 1 tablespoon warm water
- Small bowl
- Old toothbrush or small scrub brush
Application Process
- Mix the Paste: In your small bowl, combine the baking soda, white vinegar, and warm water. Stir until it forms a thick paste. It will fizz a bit – that’s the cleaning power at work!
- Apply to Stains: Using your toothbrush, generously apply the paste directly onto the stained areas of your white fabric sneakers. Make sure the stain is fully covered.
- Let It Work: Allow the paste to sit on the shoes for at least 30 minutes, or even up to a few hours for very set-in stains. The longer it sits, the more time it has to break down the dirt.
- Scrub and Rinse: Once the paste has dried, use the toothbrush to gently scrub the treated areas. You’ll see the dirt lifting away. Then, wipe away the paste with a damp, clean cloth. Rinse the cloth frequently to avoid spreading dirt.
- Final Air Dry: As with the hand wash method, stuff your sneakers with paper towels and air dry them completely in a well-ventilated spot. This ensures thorough drying and prevents any musty odors.
Method 3: The Brightening Boost – Diluted Bleach (Use with Caution!)
Bleach can be a powerful ally for restoring brilliant white to fabric, but it must be used with extreme care, especially on delicate fabrics or colored accents. Always test in an inconspicuous area first. This method is best reserved for all-white fabric sneakers with no colored details, or for very tough, yellowed stains that other methods haven’t touched. Always prioritize safety and good ventilation when working with bleach.
Safety First: Supplies & Precautions
- Household bleach
- Water
- Small bowl
- Gloves (essential!)
- Old toothbrush or sponge
- Plenty of ventilation (open windows or work outdoors)
- Old towels to protect surfaces
Careful Application Steps
- Dilute the Bleach: This is the most crucial step. Never use undiluted bleach directly on fabric. Mix 1 part bleach with 5 parts water in your small bowl. For example, 1/4 cup bleach to 1 1/4 cups water. Wear your gloves!
- Test First: Dab a tiny amount of the diluted solution onto a hidden part of the shoe fabric (like the inside of the tongue). Wait a few minutes. If you see any discoloration or damage, do NOT proceed with bleach.
- Apply Sparingly: If the test is clear, dip your toothbrush or sponge into the diluted bleach solution. Gently dab or lightly scrub only the very stained areas. Do not soak the entire shoe. Less is more with bleach.
- Rinse Thoroughly: After a few minutes (no more than 5-10), rinse the treated areas thoroughly with clean, cool water. You want to remove all traces of bleach to prevent fabric damage or yellowing over time.
- Wash Again (Optional but Recommended): For good measure, you might want to follow up with a gentle hand wash using mild soap and water (Method 1) to ensure all bleach residue is gone.
- Air Dry: Stuff with paper towels and air dry completely in a well-ventilated area, away from direct sunlight.
Method 4: The Toothpaste Trick – For Scuffs and Yellowing
It might sound strange, but plain white toothpaste can be surprisingly effective for tackling minor scuffs on rubber soles and even light yellowing on fabric. Just make sure you’re using white paste, not gel toothpaste, as the dyes in gel can potentially stain.
What You’ll Need
- White, non-gel toothpaste
- Old toothbrush
- Damp cloth
How to Apply
- Apply the Paste: Squeeze a small amount of toothpaste directly onto the scuffed area of the rubber sole or the lightly yellowed fabric.
- Scrub Gently: Use your toothbrush to scrub the toothpaste into the stain or scuff in small, circular motions. You should see the stain begin to lift.
- Wipe Clean: Once the stain is gone, wipe away the toothpaste residue with a damp, clean cloth. Repeat if necessary.
- Air Dry: Allow the area to air dry completely.
Method 5: The Magic Eraser – For Rubber Soles and Toe Caps
While not ideal for the fabric upper, the Magic Eraser (melamine foam sponge) is truly magical for cleaning the rubber soles, toe caps, and side walls of your white sneakers. It effortlessly lifts scuffs and grime that seem impossible to remove.
Simple Steps for Sparkling Soles
- Dampen the Eraser: Lightly wet a Magic Eraser with water. Squeeze out any excess water so it’s damp, not dripping.
- Gently Scrub: Rub the damp Magic Eraser directly onto the scuffed or dirty rubber parts of your sneakers. You’ll be amazed at how easily the marks disappear.
- Wipe Clean: Use a clean, dry cloth to wipe away any residue. That’s it!
Method 6: The Washing Machine – For the Brave and Busy
Using a washing machine can be a time-saving method for cleaning white fabric sneakers, but it comes with risks. Not all sneakers are machine-wash friendly, and improper washing can lead to damage, discoloration, or even shrinking. This method is generally best for canvas or synthetic fabric sneakers, not leather, suede, or shoes with delicate embellishments. Always check the manufacturer’s care instructions first!
Preparation is Key
- Mesh laundry bag (essential!)
- Mild laundry detergent (liquid is best to avoid residue)
- Old towels (2-3)
- Old toothbrush (for pre-scrubbing)
Washing Machine Steps
- Pre-Clean: Remove laces and insoles. Use a dry brush or old toothbrush to remove any loose dirt, mud, or debris from the shoes. This prevents it from spreading in the washer.
- Treat Stains: Pre-treat any stubborn stains with one of the methods above (baking soda paste, spot cleaner) before putting them in the machine.
- Bag Them Up: Place your sneakers (and laces, if washing them) in a mesh laundry bag. This protects them from banging around in the machine and potentially damaging the washer drum.
- Add Towels: Put 2-3 old towels in the washing machine along with the bagged sneakers. The towels act as a buffer, preventing the shoes from clunking